Jump to content

Sheaffer Tuckaway Vac Packing Replacement Issue.


H.M. Murdock

Recommended Posts

I came into posession of a black Sheaffer tuckaway vac filler, in fantastic condition (not a bit of brassing on it, no scratches beyond micro, two tiny dents in cap band) for the price ($4).

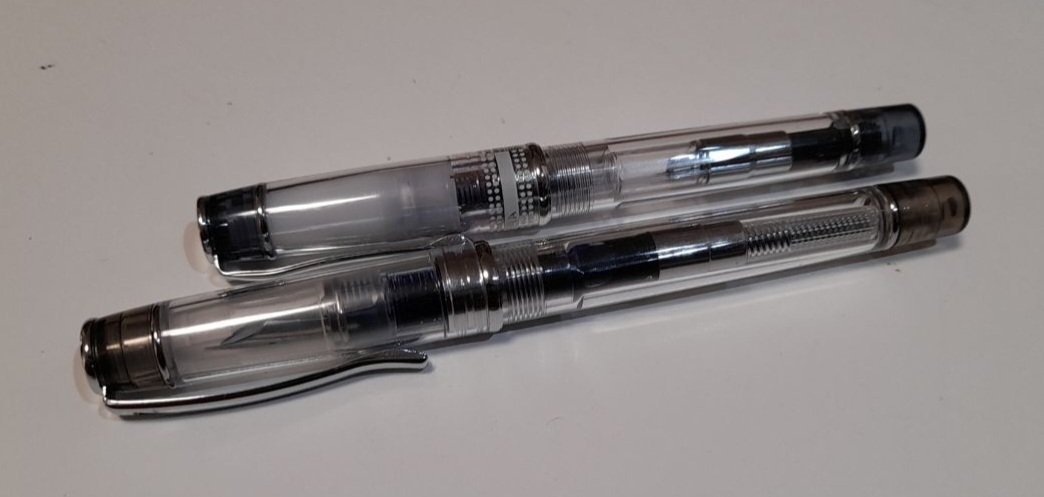
First, let me say this: I have zero trouble with removing the nibs and feeds of Tuckaway vac fillers. I also have no problem being able to repair the earlier version of Sheaffer's vac filling system. This one, however, is the later model, with a dedicated ink... reservoir, for lack of a better term. See attachment if that description is confusing.

Now, here's the thing- I know I can get a replacement seal unit from fountainbel, and that's certainly an option. But I'd like to get this pen working within the next week or so, so that's a last-ditch sort of thing. I'd actually like to know more about how this unit is put together.
Is it the same packing as on the older vac-filler Tuckaways? If so, what's the best way to remove it? I imagine I can use a small dowel and very steady hands to replace the packing (replacements courtesy of fountainpensacs.com), and the same goes for getting the rubber o-ring into place. But what about the white o-ring supplied in their Sheaffer vac fill repair kit?

post-88349-0-57251200-1423789973_thumb.jpg

"So all were lost, which in the ship were found,

They in the sea being burnt, they in the burnt ship drown'd."

- A Burnt Ship, John Donne

Link to comment
Share on other sites

  • Replies 36
  • Created
  • Last Reply

Top Posters In This Topic

  • rtrinkner

    10

  • 3rdlakerobert

    6

  • kirchh

    4

  • Ron Z

    4

Top Posters In This Topic

Posted Images

You would repair these internal capsules with the same materials (David Nishimura for o-rangs and closing nuts) and techniques as the earlier plunger-fillers. The only difference is that when drilling out the old packing unit on an internal capsule like yours, do everything you can to minimize torque, i.e. start with a very thin drill bit and gradually work up. The end of those internal capsules- the end that contains the packing unit- tend to be quite friable and can easily break off if subject to much stress.

Link to comment
Share on other sites

I repaired exactly this type of mechanism a while back. As gmberg stated above, the end of the capsule is really fragile. I broke it off accidentally while removing the original packing unit, leaving the capsule broken in two. I successfully got the pen to fill (leak-free) by removing the old packing unit from the severed end, installing the black donut ring and white holding gasket as per the most repairer's contemporary recommendation, and then gluing the capsule back into one piece. To glue it together, I evened the edges of the two broken pieces and then used M.E.K. to bond them back together. The result was a capsule that is slightly shorter than originally, but the pen fills, writes, and doesn't leak. It's worked fine for several years. The glued capsule isn't a thing of beauty, but it works and hides inside the pen's barrel, so it's never seen.


After thinking about it some more, I'd suggest that this particular model may be a candidate for using one of those pink-eraser-style packing unit plugs that you just jam down into the capsule on top of the existing old packing unit. Those plugs make for an annoying, stiffer plunger stroke when you fill the pen, but at least you wouldn't jeopardize breaking the end of the capsule. If you want a pen that fills for your collection and occasional use, this may be the best route. If you want a pen you'll use and fill often, you'd be better off trying to get the black-and-white Nishimura packing unit to work.

Edited by rtrinkner
Link to comment
Share on other sites

First, thanks to you all for your assistance! I've just gotten the time to work on the pen some more and, using a finger drill (sort of like a chuck without the drill attached to it, not to be confused with a pin vise) and graduated bit sizes, the packing capsule is drilled out perfectly flush and all of the previous packing material is removed. I'm about to put the ink capsule in the ultrasonic cleaner to make sure I get out all of the fragments created inside the capsule, as I don't want them to interrupt the seal of the pen.

So, that leaves me one final question: Recommendations for how to secure the packing? I was thinking rubber cement, or should I favor shellac? Either way, I've thought about using a chopstick to actually get the adhesive settled into the packing capsule, but am open to better ways of doing it.


Apologies for any density on my part. This is all of my fourth pen repair, and I gotta say... I'm loving the challenges of this filling system. Every successful step is a complete thrill!

Edited by H.M. Murdock

"So all were lost, which in the ship were found,

They in the sea being burnt, they in the burnt ship drown'd."

- A Burnt Ship, John Donne

Link to comment
Share on other sites

Here's how I do it. No claim that this is the best way. Please correct me if my process can be improved.


1. Use a thin rod to position the black rubber donut into the very bottom of the capsule. Internally, there is a small ridge at the very bottom that makes for a little cup. The black donut needs to squeeze into that cup while still having its hole positioned directly above the exit hole of the capsule.


2. Next you need to wet the ridge around the donut with M.E.K. (methyl ethyl ketone), which will dissolve the plastic a bit. If any of the MEK touches the interior wall of the capsule, it'll dissolve it, too, so you need to avoid getting MEK anywhere that you don't want it. I use a bit of hollow brass tubing that fits into the capsule (or pen barrel in earlier models) and then use a special plastic "eye dropper" whose plastic doesn't dissolve into MEK, inserted down into the brass tubing to put a few small drops around the circular ring. I then quickly remove the brass tubing and eye dropper. I push the thin rod from the open end of the capsule through the hole in the donut and out the back end. I leave this in place for a moment. I thread the white plastic ring onto the rod and then use another piece of brass tubing to press the white ring down onto the now-wet ridge to seal the black donut in place. I press firmly against the brass tubing for about a minute to ensure that the ring "glues" in place. (It's actually a solvent bond.) I then let the capsule sit upright, so gravity will hold the white ring in place while it cures. I leave it for about 30 minutes.


3. Replace the plunger gasket. Be sure to use a good gasket, like the ones available for sale from Ron Zorn. Put a dab of shellac on the plunger rod threads so the little cylindrical nut stays in place when you screw it on. Let that sit until the shellac dries -- during the same 30 minutes that you're waiting above.


4. To get the plunger rod back onto place and for its tail to stick out the end of the capsule, it really helps to have a special tool to do this. Mine is a rod with a brass sleeve affixed to the end. You can stick this rod through the donut from the open end of the capsule, and then insert the tail of the plunger rod into the little brass sleeve. With a little silicone grease, you can push this helper rod all the way through the donut and it will bring the tail of the plunger rod with it so that it can be pulled down and bring the plunger gasket into the pen. You can then screw the tail cap on to the plunger rod, with a little shellac on the threads to keep the tail cap from spinning lose. I can't remember where I bought the helper rod, but they're out there on the web.


5. Finally, reassemble the pen. Test whether it draws up ink. If it does and you're happy with how the ink is feeding the nib etc., use the soft resin-based sealant on the threads when you screw the nib unit back into the barrel.


So, to use my method, you'll need to buy MEK, an MEK-resistant dropper, the brass tubing, and the helper rod. There might be other ways to do this, but I wouldn't be able to do a decent job without any of these parts/tools.


Cheers,


Richard

Link to comment
Share on other sites

rtrinkner,


Thank you so much for your guidance on this! I really appreciate it.

I didn't have any MEK on hand, so I opted for rubber cement, and it's done the job wonderfully. In the future (because I definitely see a lot of vac fillers in my future) I will give MEK a shot. TI'm will tell, but the rubber cement was easy enough to apply that I might favor it, but it depends on how well the rubber cement performs.


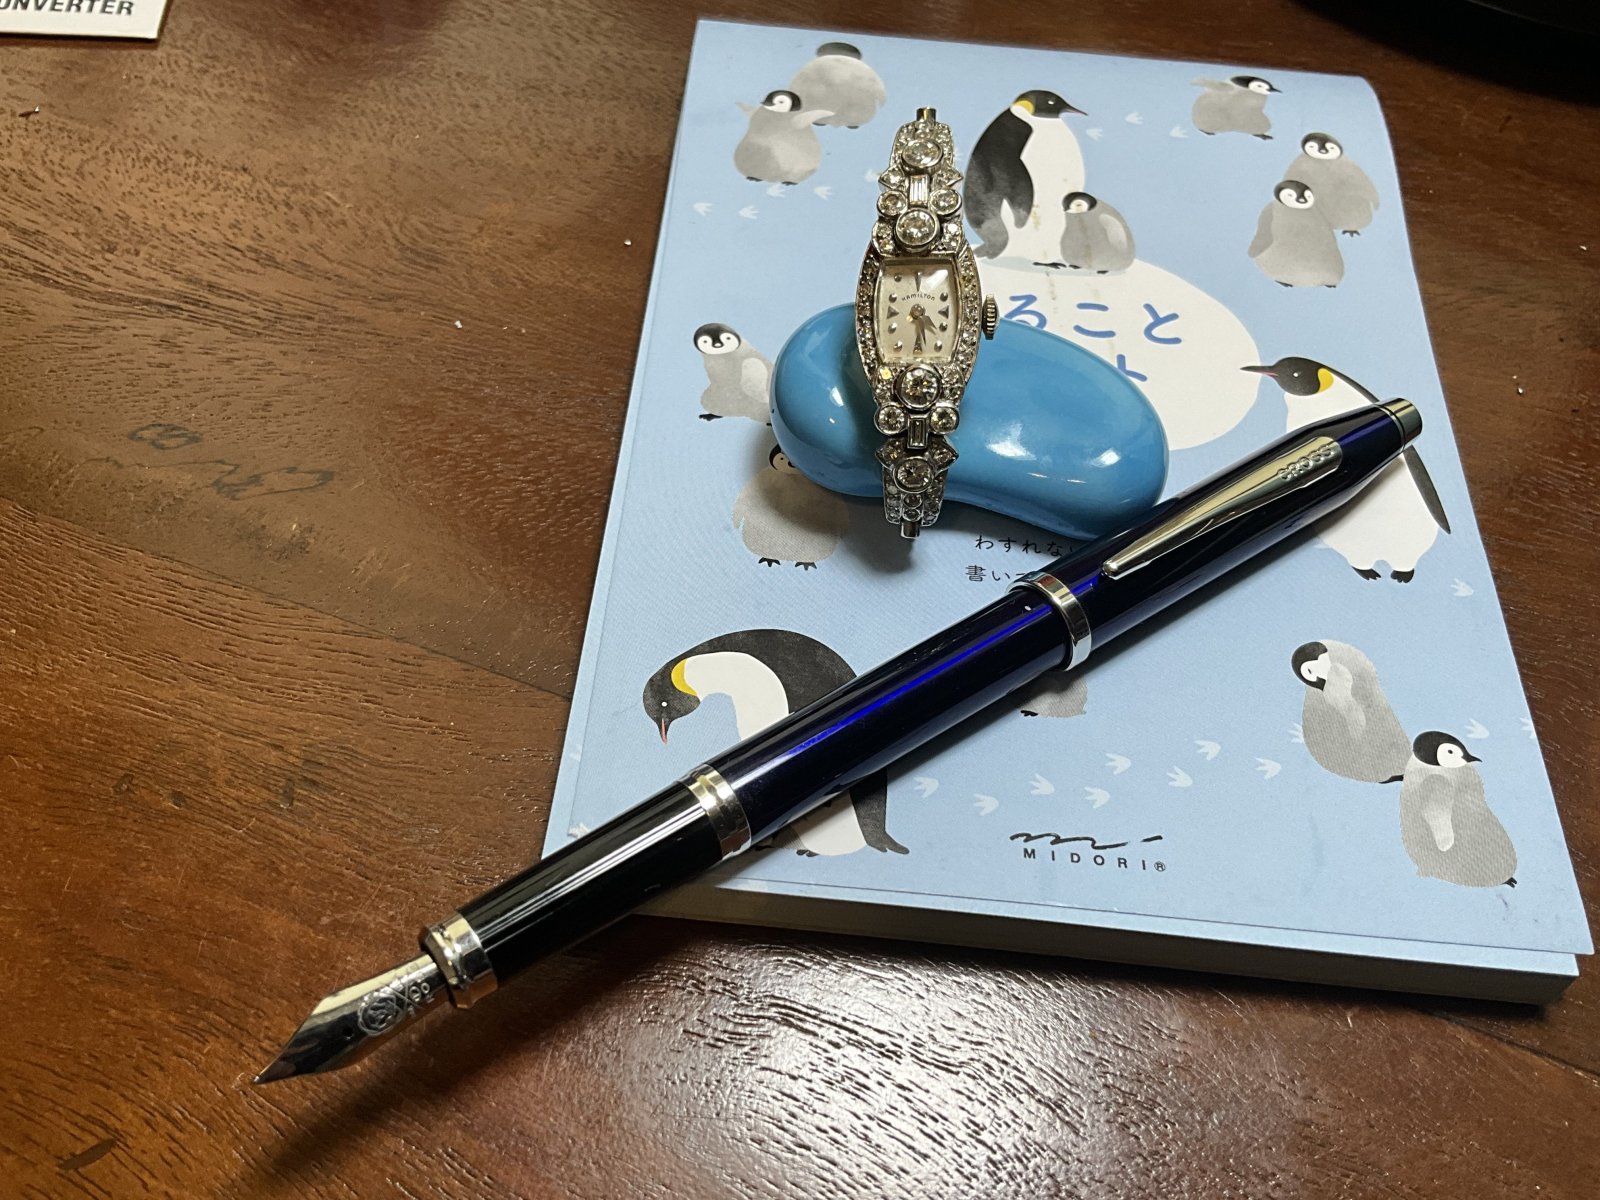
Here's a picture of the little blighter. A little polishing and she'll be better than ever, though I have to say it writes so well I wouldn't care if it were hot pink with glitter-covered hardware.

post-88349-0-11065500-1424476565_thumb.jpg

"So all were lost, which in the ship were found,

They in the sea being burnt, they in the burnt ship drown'd."

- A Burnt Ship, John Donne

Link to comment
Share on other sites

Missed this thread while out at the LA pen show.

Those later filler units are actually MUCH easier to work on, since you don't have to drill out the packing unit compartment from inside the barrel. Instead, drill from the back, which makes cleanout and installation of the seal and the retaining washer as easy as can be. In fact, you can use a smaller drill bit -- 7/32" instead of 1/4" -- and dispense with the retaining washer altogether. You'll have a bit more work fishing out all the remains of the old packing seal, but it really isn't all that difficult, and then all you have to do is squeeze the new seal through the 7/32" opening so it snaps into place inside the 1/4" recess.


Hi David,


Interesting method, just wondered if you dispense with the retaining washer what keeps the new packing unit seal in place?

Link to comment
Share on other sites

The new seal is large enough that it cannot pass through the 7/32" hole once the plunger shaft is in place. It can be squeezed through the 7/32" hole and into the 1/4" recess behind, though, when there is nothing filling the seal's center hole.


You might well find it easier to use a 1/4" drill, though, since it does make cleanout simpler, and gluing a new closure washer in place is very simple when it can be done from the back, rather than from inside the barrel.

Link to comment
Share on other sites

Keep us posted on how well the rubber cement works over the long run! I don't know anything about how rubber cement might react in a bath of ink over the long haul. Even if it fails eventually, you can always go back in and use MEK to glue/bond the white washer in place.


Well done in getting that pen to write!

Link to comment
Share on other sites

  • 3 weeks later...

I've been reading this thread (and several others) and I understand the differences between the capsule type and the earlier barrel version of the vac. Is there a way to determine which type you have on a solid colored pen BEFORE trying to dismantle or remove the Triumph nib unit? For example, is the longer 5/8" ribbed grip section and indicator of the original barrel type vs the shorter (?") grip section of the newer capsule type? ...or is that completely irrelevant and just a difference in pen models (say Tuckaway vs Triumph model). I guess my question arises (if I understand correctly) that the early type only needs to have the nib unit removed while the later type will need the nib unit removed AND the 2 part barrel separated...and which do you do first?

Link to comment
Share on other sites

Not quite an answer to your question, but on the capsule-style Vac-Fils I've repaired, the outer barrel unscrews easily from the nib/section assembly, so it's not really much more work that the other styles. If you remove the existing packing unit from the nib side (as I've usually done), you still have to remove the nib/feed/collar from the section. The tool that FPN-member Fountainbel sells really helps remove the nib, feed, and collar without damaging them.


I don't know if you can tell the filling type easily without having the pen in hand. I've seen the capsule in both solid and striated models.


Some of the solid models are Touchdown fillers, which have a chromed tube connected to the tail cap instead of the Vac-Fil rod, but then again you need the pen in hand to check this. The Touchdown models could be identified visually by their little breather hole at the end of the barrel by the tail's blind cap, but you'd need a good photo of the correct side of the barrel to see this.

Link to comment
Share on other sites

Thanks for the clarification. I just assumed that it was shellaced/sealed like the other joints. If it was an original vac, I didn't see any reason to try and separate the barrel just for identification purposes. I was hoping there was a visual cue. I would love to own the Fountainbel nib removal tool, but since I'll probably only repair a few pens, I'm sure I couldn't afford it. I don't understand it either...all I've been able to find are a picture of it, but not on a pen. I just don't grasp the concept of what it does (the shaped piece of steel).

Link to comment
Share on other sites

Fountainbel's tools are hard plastic circles that have a conical hole in their middle, with a little slot for a metal key-like shape and a hand screw that tightens the key. You insert the pen with its Triumph nib into the conical hole and then line the metal key so that it's little tongue fits into the small slot/groove in the pen's feed. You then carefully tighten the hand screw so the key stays in position. After you heat the section as you would to remove the section from most other pens, you use the circle to unscrew the nib unit. The key's tongue helps spin the feed while the nib is spinning so it all comes apart as a unit.


The circles come in two different sizes to accommodate the two different sizes of Triumph nibs.


Before using this tool, I would break about 1/3 of the Vac-Fils I tried to repair. With this tool, I've had a 100% success rate. The only problem I've encountered is that the little metal tongue can damage the little fins on the feed if you tighten it too much.

Link to comment
Share on other sites

Thanks for the explanation. Very cool tool. So when you tighten the hand screw, I assume that pushes the key down into the feed? Then basically, you are jamming the feed hard against the inside of the nib and using the feed slot to exert torque on the unit while supporting the outside of the nib all the way around to prevent deformation. The tool doesn't necessarily squeeze the nib per-se, but you are using the feed slot to do most of the work. Do I have the concept correct now? Does it cause any scratching of the nib? (I guess not since it doesn't spin on the nib providing the conical hole is perfectly clean). I haven't contacted Fountainbel yet to get a price quote...I'm sure I know it's out of my range. Excellent ingenuity though.

Yep, you have it right. The tool, when tightened properly, doesn't really use the slot in the feed for leverage, but it does make sure that the nib stays aligned with the feed while you unscrew them. Removing these nibs without the tool is difficult because the conical nature of the nib causes section pliars to slip off when you try to unscrew it. Also, if you don't remove the nib/feed/collar unit as a single piece (which Fountainbel's tool helps to do), you can often sheer the little plastic collar off and it will end up stuck inside the barrel. Founaintbel also sells a sort of triangular screwdriver/awl tool that you can insert into the stuck collar and use to unscrew the collar from the barrel.


To avoid torquing too much on the nib/feed, it's important to push the pen into the conical opening while you're unscrewing the nib. This action helps the conical hole to do some of the torquing. I think when I've accidentally broken a fin off the feed while using the tool, I overtightened the hand screw or I didn't press against the conical hole enough. The two or so pens that I've done this to still write perfectly, and the broken fin is only noticeable if you closely inspect the feed.


No harm in contacting Fountainbel through a PM to get a price quote. He's extremely helpful. If you plan to work on more Vac-Fils with Triumph nibs, you'd be happy to have the tool. You don't need this tool if you're working on Vac-Fils with traditional nibs, like the Balance models of the 1930s or the non-White Dot models of the 1940s.

Link to comment
Share on other sites

  • 2 months later...

How do you get the end blind cap off of the barrel? Mine does not have the separate reservoir but I cannot get the cap off, so I cannot go any further restoring it.

If anybody wants to buy a FPR triveni, a waterman's crusader with a modified barrel, or faber castell pitt brush pens I have one just for you!

Link to comment
Share on other sites

Can you unscrew it from the barrel and retract it (like you would to fill the pen?) If you can't unscrew it from the barrel, try soaking it in a gentle ammonia/water solution or ultrasounding it in the same solution. If that doesn't work, try gentle heat. Resist the temptation to use pliers on the naked blind cap. You could try pliers with rubber-coated jaws or covering the blind cap with a sheet of rubber to protect it from the pliers' jaws.


If you can unscrew the cap from the barrel but you're having trouble removing the blind cap from the plunger rod, you generally need a bit of heat to loosen any adhesive or gunk on the threads of the plunger rod that connect to the blind cap. You can heat the rod itself close to the blind cap, and the heat will generally transfer down the metal to the tiny threads. If you have a model with black rubbery coating on the rod, be really careful not to heat it too much, or the black rubbery coating can blister.


Most of the blind caps contain a little lock nut that requires a pronged screw driver to remove. You can buy these tools pre-made at many of the pen repair parts/tools web sites. You can also make one by filing a gap into a normal screw driver's head to make the little prong. Basically, you're looking for a strong tiny fork to unscrew the lock nut. You might not need any heat or soaking if you use this tool. Sometimes, you still need the heat and soaking. Without the tool, you'll need to improvise some way of keeping the lock nut still while you unscrew the plastic blind cap from the lock nut.


Good luck!


Richard

Link to comment
Share on other sites

Create an account or sign in to comment

You need to be a member in order to leave a comment

Create an account

Sign up for a new account in our community. It's easy!

Register a new account

Sign in

Already have an account? Sign in here.

Sign In Now


  • Most Contributions

    1. amberleadavis
      amberleadavis
      43844
    2. PAKMAN
      PAKMAN
      33559
    3. Ghost Plane
      Ghost Plane
      28220
    4. inkstainedruth
      inkstainedruth
      26744
    5. jar
      jar
      26101
  • Upcoming Events

  • Blog Comments

    • Shanghai Knife Dude
      I have the Sailor Naginata and some fancy blade nibs coming after 2022 by a number of new workshop from China.  With all my respect, IMHO, they are all (bleep) in doing chinese characters.  Go use a bush, or at least a bush pen. 
    • A Smug Dill
      It is the reason why I'm so keen on the idea of a personal library — of pens, nibs, inks, paper products, etc. — and spent so much money, as well as time and effort, to “build” it for myself (because I can't simply remember everything, especially as I'm getting older fast) and my wife, so that we can “know”; and, instead of just disposing of what displeased us, or even just not good enough to be “given the time of day” against competition from >500 other pens and >500 other inks for our at
    • adamselene
      Agreed.  And I think it’s good to be aware of this early on and think about at the point of buying rather than rationalizing a purchase..
    • A Smug Dill
      Alas, one cannot know “good” without some idea of “bad” against which to contrast; and, as one of my former bosses (back when I was in my twenties) used to say, “on the scale of good to bad…”, it's a spectrum, not a dichotomy. Whereas subjectively acceptable (or tolerable) and unacceptable may well be a dichotomy to someone, and finding whether the threshold or cusp between them lies takes experiencing many degrees of less-than-ideal, especially if the decision is somehow influenced by factors o
    • adamselene
      I got my first real fountain pen on my 60th birthday and many hundreds of pens later I’ve often thought of what I should’ve known in the beginning. I have many pens, the majority of which have some objectionable feature. If they are too delicate, or can’t be posted, or they are too precious to face losing , still they are users, but only in very limited environments..  I have a big disliking for pens that have the cap jump into the air and fly off. I object to Pens that dry out, or leave blobs o
  • Chatbox

    You don't have permission to chat.
    Load More
  • Files


×
×
  • Create New...